Share
Pin
Tweet
Send
Share
Send
For home and travel: this pendant case with a zipper and two handles will protect your clothes from dust, dirt, damage in all conditions.

You will need:

- cotton fabric,
- zippers: 1x 100 cm long and 1x 22 cm long,
- non-woven Decovil,
- finished oblique trim approx. 2.80 m
- tape measure,
- tailor pins
- scissors,
- large and long rulers,
- threads
Life hack: how to store scarves and jackets with curtain rings
Step 1

For a cover, cut out a piece of fabric with a size of 120 x 100 cm. Size of the cover in the finished form is approx. 60 x 100 cm. For a pocket, cut a rectangle measuring 26 x 19 cm from the fabric.
Step 2

Finishing the ends of the zipper 22 cm long: 2 pieces of approx. 2.5 x 5 cm. Fold the parts in half and pin them to the zipper at the top and bottom, rounding the ends.
Step 3

Stitch fabric parts at the ends of the zipper to the hem.
Step 4

Cut a strip with a width of approx. 4 cm. Press the lower longitudinal section of the strip and the upper longitudinal section of the pocket to the side 1 cm wide. Stitch the zipper 22 cm long along the edges of the strip and pocket so that the teeth are visible.
Step 5

Turn over all sections of the pocket with a finished oblique trim. First, spread the tie flat and unscrew one longitudinal section. Pin the necklace to one cut of the pocket with the front side to the front side and stitch it, laying a stitch along the bend.
How to sew an oblique edging: 3 ways
Step 6

At the corner, finish the line without reaching 1 cm to it. Fasten the end of the seam.Pin the tie to the corner, fold it, as shown in the photo, and stitch it further to another pocket cut.
Step 7

Unscrew the tape on the wrong side, rounding the cuts, turn it around, laying in a fold at the corners. Pin the pocket to the cover in the middle at a distance of 15 cm from the upper cut, sew along the contour to the edge, grabbing the inner edge of the inlay.
Step 8
For pens made of Decovil non-woven fabric, cut out 2 pieces 26 x 1.9 cm in size, cut 4 pieces of 26 cm long from the finished oblique inlay. Press Decovil non-woven fabric to the two inlay in the middle on the wrong side.
Step 9

On one duplicated and not duplicated gasket, tie the collar together and grind along the longitudinal edges to the edge.
Step 10

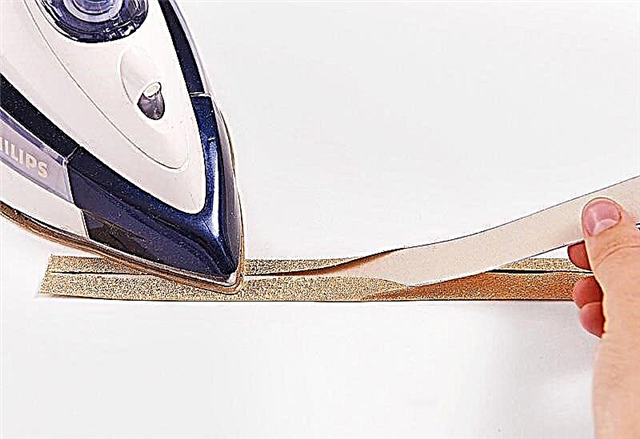
Finish the ends of the zippers with a length of 100 cm in the same way as described in steps 2 and 3. Fold the cover in half, iron the vertical sections on the wrong side to a width of 1 cm. Stitch the zipper along the edges.
Do-it-yourself tablet case: workshop
Step 11

Chip the upper and lower sections of the cover, while pinning it in the middle of the handle. Cut the slices by grabbing the handles.
Step 12

Spread the slanting beiks flatly and at each turn off one longitudinal section. Pin the strips to the upper and lower sections of the cover with the front side to the front side.
Step 13
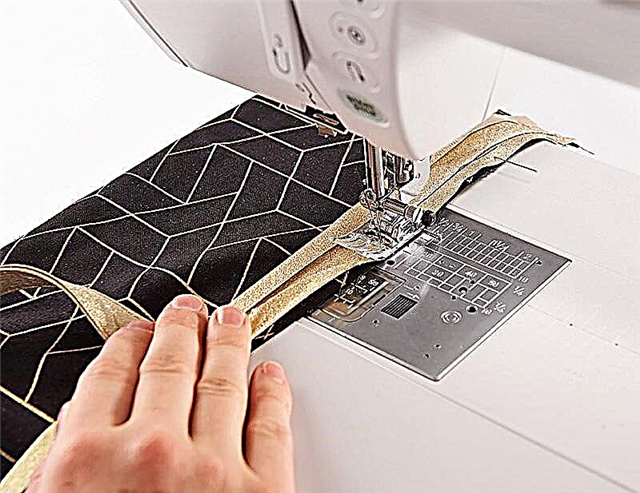
Stitching stitches to the cuts, laying lines along the bend.
Step 14

Unscrew the ties on the wrong side, rounding the cuts, tuck, pin and grind to the edge.
Step 15

Unscrew each handle up and press it to the top / bottom edge of the cover to the edge.
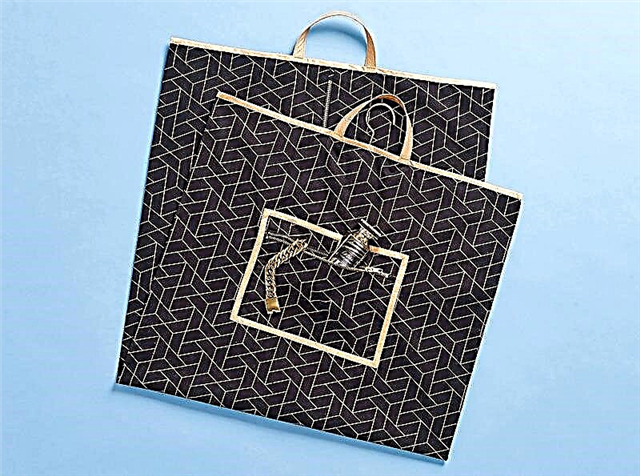
In a patch pocket with a zipper, you can put various little things: jewelry, socks or scarves.
Storage ideas: organizers for every occasion and taste
Clothing Storage Tips
· Items made from delicate materials such as silk, wool, leather, require special attention. The cover will protect them from sunlight and odors.· Additionally use moth removers or aromatic sachets.
· The metal buttons / buttons should be wrapped in silk paper, the zippers should be closed. This will help to avoid imprints, discoloration or elongated threads.
Share
Pin
Tweet
Send
Share
Send