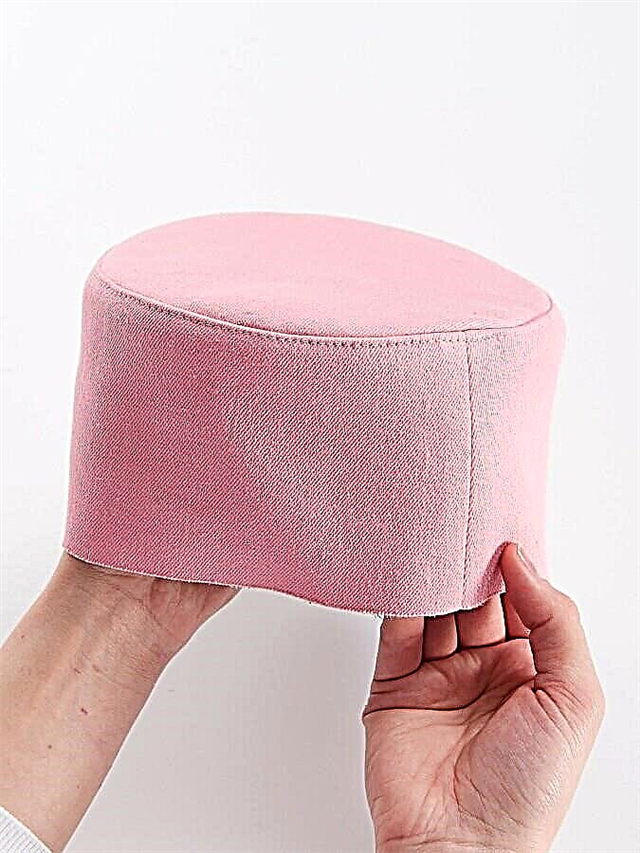
A spectacular hat made of natural cotton will save not only from the hot sun, but will also be a wonderful addition to the summer look.

You will need:
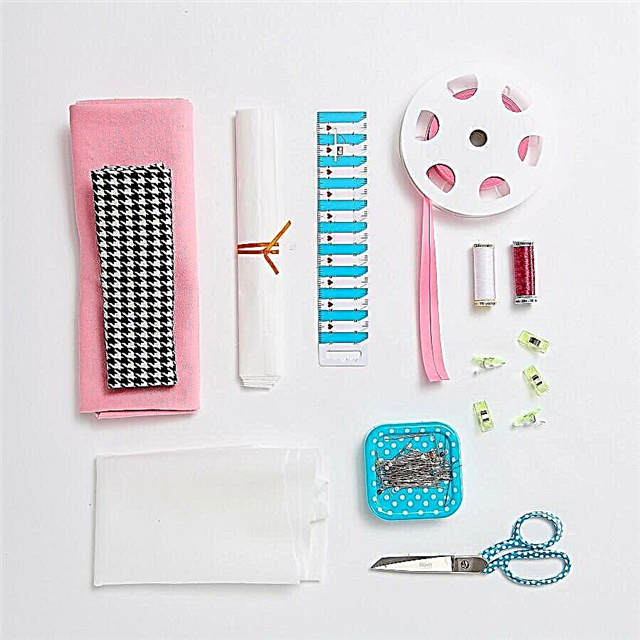
✽ dense pink cotton fabric and print with a goose foot;
✽ flizofiks;
✽ non-woven G 770;
✽ cotton slanting inlay;
✽ thread for sewing;
✽ tailor pins;
✽ scissors;
✽ ruler;
✽ clothespins
Pattern
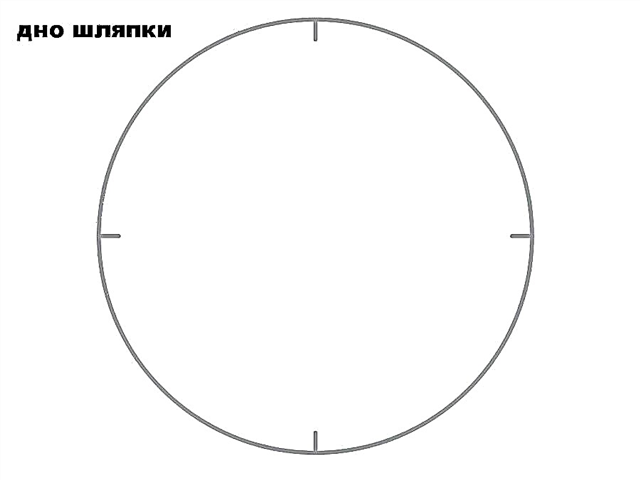
Draw the details of the pattern by hand according to your size.
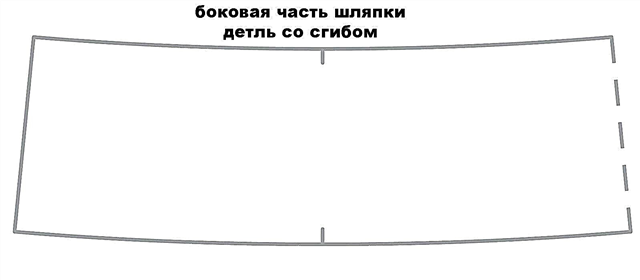
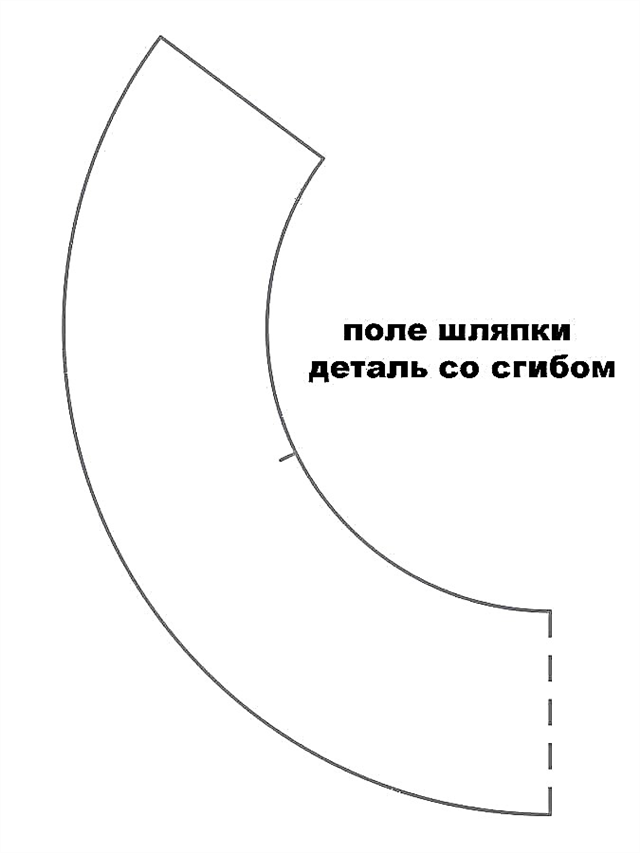
Define the width of the side part and the details of the cap field as you wish.
Before stitching the hat, make a layout to clarify the size of the model.
Step 1
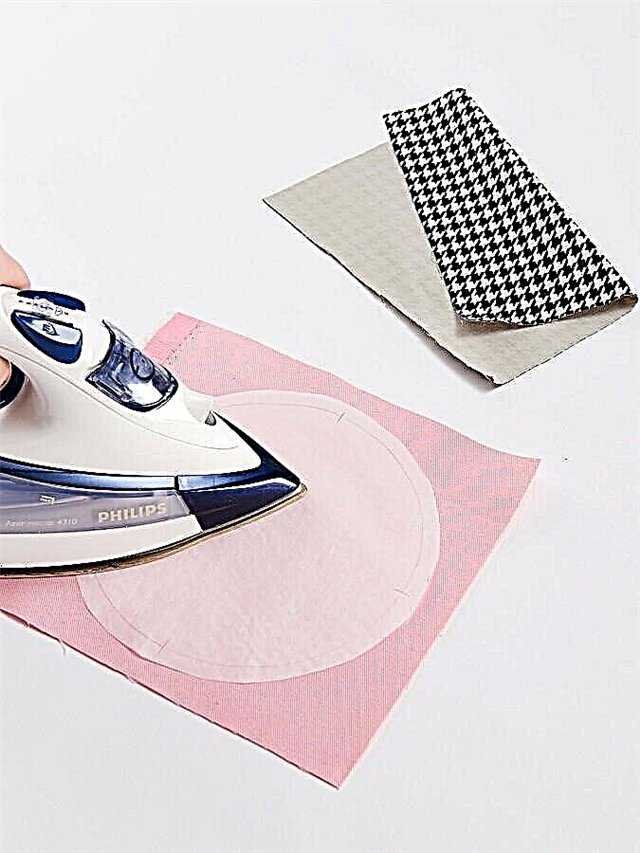
For the bottom of the hat, cut a circle from flizofiksa with a 1 cm seam allowance and iron it to the pink fabric from the wrong side.
Cut off excess tissue.
Remove the paper base from the flizofix. Iron the circle on the wrong side of the other fabric and cut off the excess.
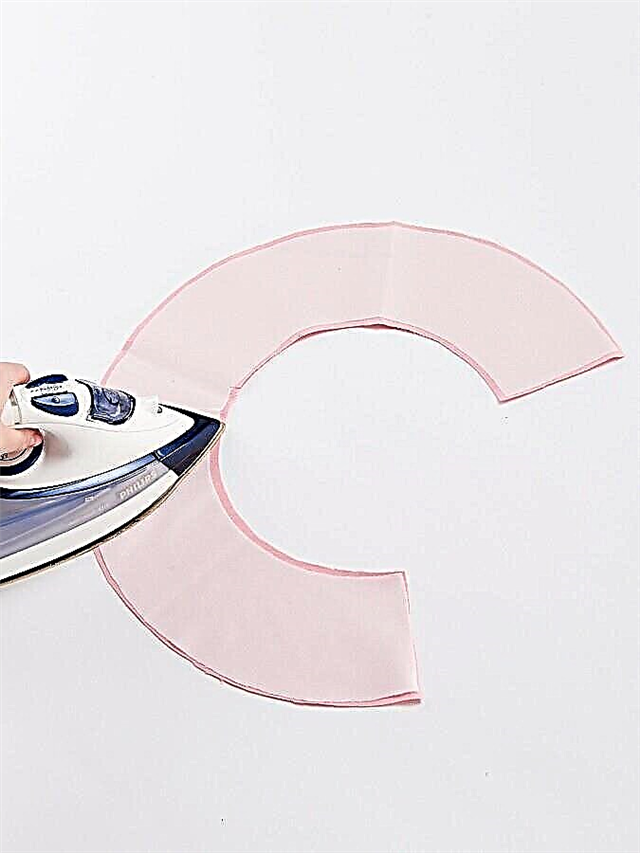
Step 2
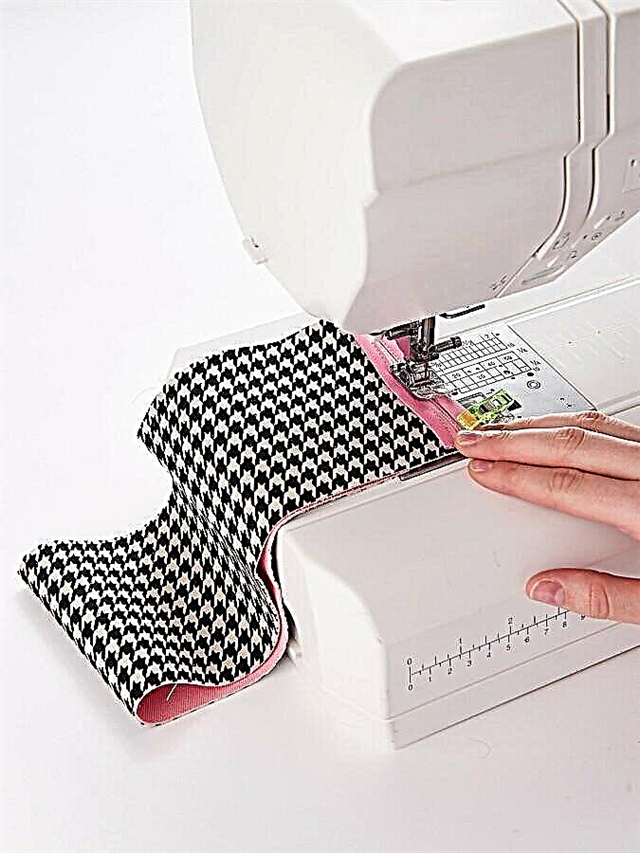
Perform the same for the side of the hat (see step 1).
Fold the side part inward, chop and grind the side sections at a distance of 1 cm.
Turn over both seam allowances with a slanting inlay.
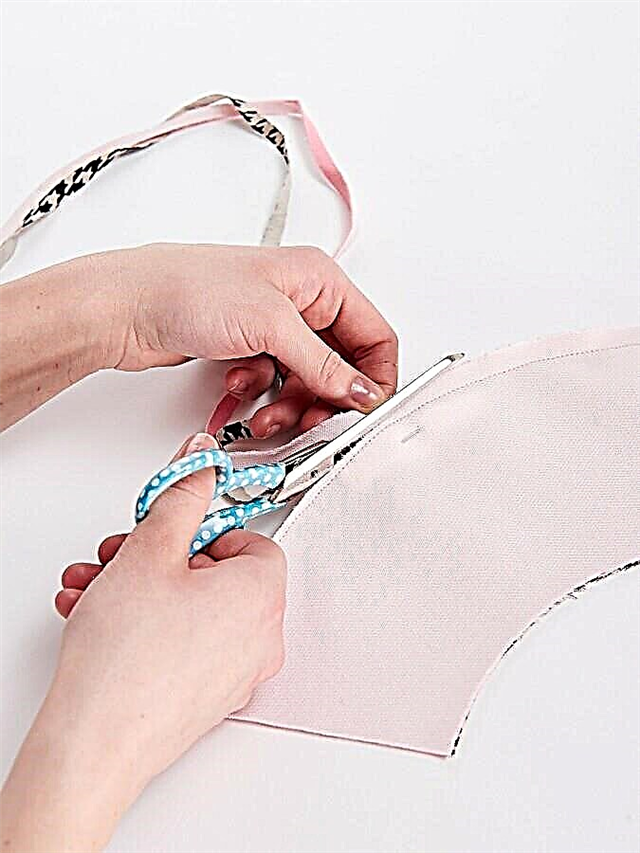
Step 3
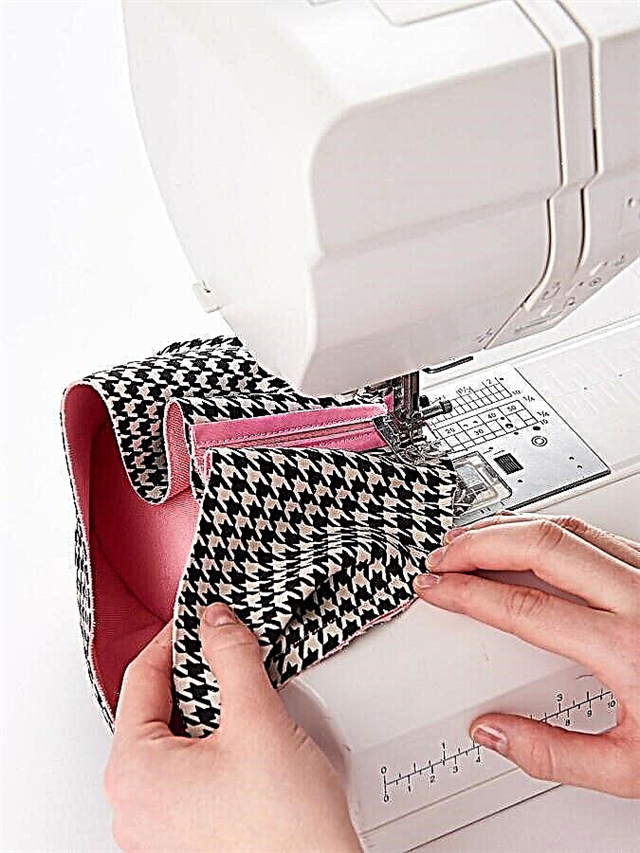
Chip the bottom with the side of the front side to the front side and grind at a distance of 1 cm.
Step 4
Overlap seam allowances with a slanting hem.
How to sew an oblique edging: 3 ways
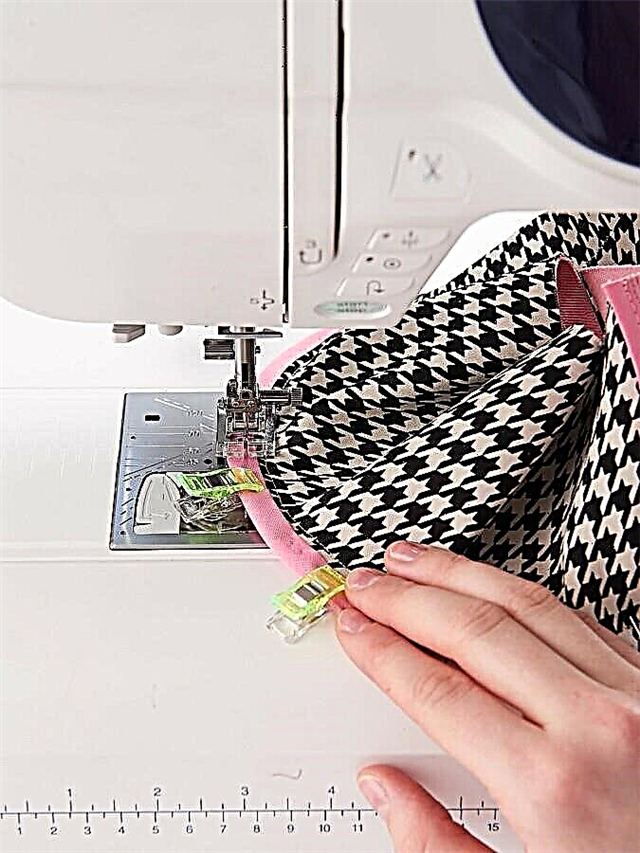
Step 5
Unscrew the hat and stitch it close to the seam.
Step 6
Cut out the fields from both fabrics with allowances for seams and 1 cm along the cuts.
Iron non-woven G 770 to the pink fabric from the wrong side.
Start side cuts of each detail of the fields face inwards at a distance of 1 cm.
Step 7

Chip both parts of the fields with their front sides and grind along the outer cut at a distance of 1 cm.
Step 8
Cut seam allowances to a width of approx. 2 mm.
Unscrew and iron the fields.
Knit Beans: How to sew a hat with your own hands
Step 9
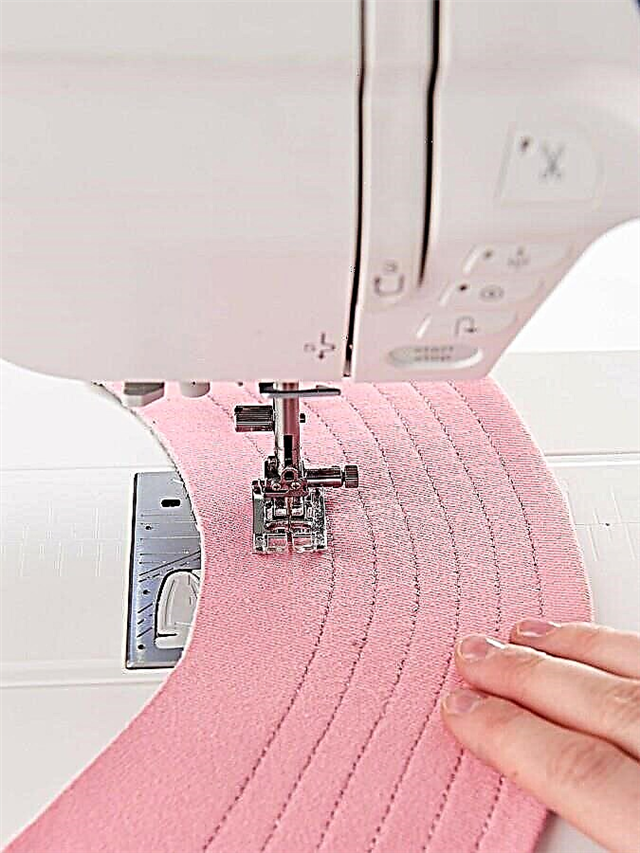
On the fields with metallized threads, make 7 decorative stitches with an interval of 7 mm.
Step 10
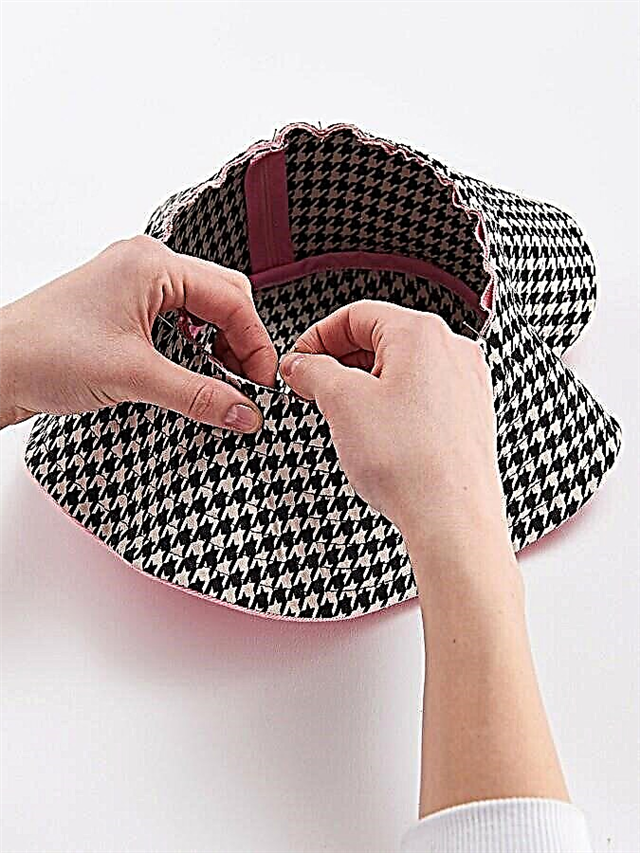
Pins the fields to the top with the front side to the front side.
Step 11
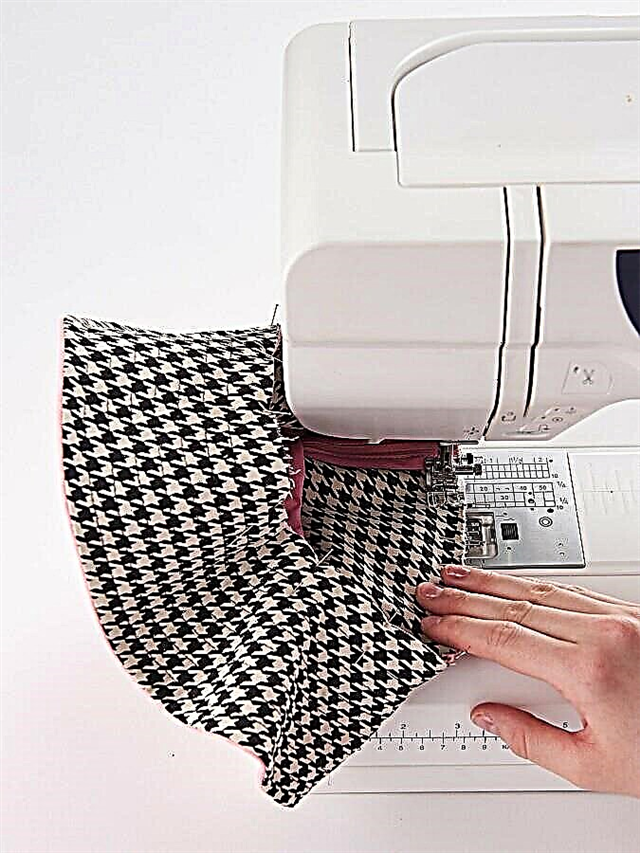
Stitch the fields at a distance of 1 cm, seam allowances to be edged with a slanting inlay.
Seam seam allowances on the front side (see step 5).

Done!
Source and photo: Burda 6/2019