Share
Pin
Tweet
Send
Share
Send
And 1001 ways to attach it in another way! A little imagination - and your way will be one hundred and first or one thousand and two!


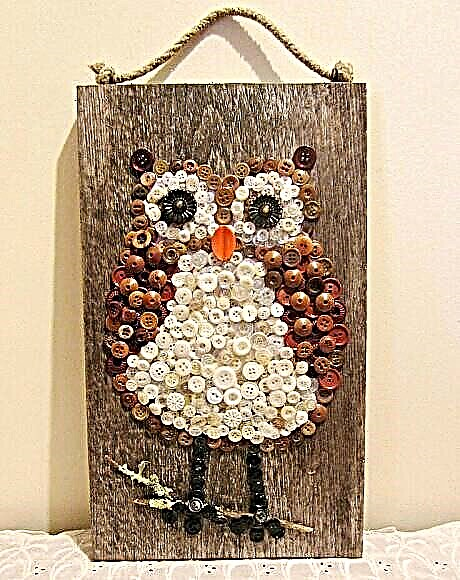


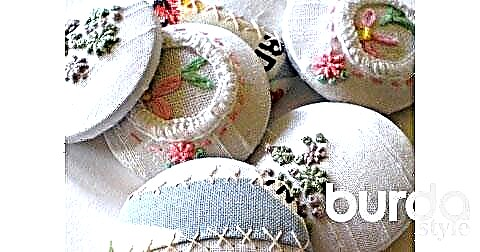
... or embroider a real picture with buttons.

And do not forget to show the children how many ways there are to sew the most ordinary button with four holes.

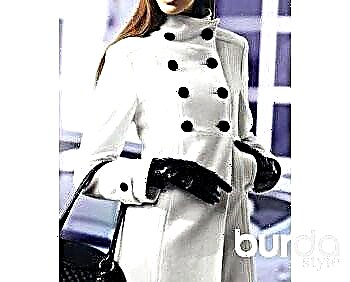
Such a button can become a separate decorative item of clothing or accessory, if for sewing take, for example, thick yarn of a contrasting color.

Sewing flat buttons to clothes from dense fabrics, you need to make a string leg, otherwise the silhouette of a button will print ugly on the fabric. Sew a button with a thread leg like this:
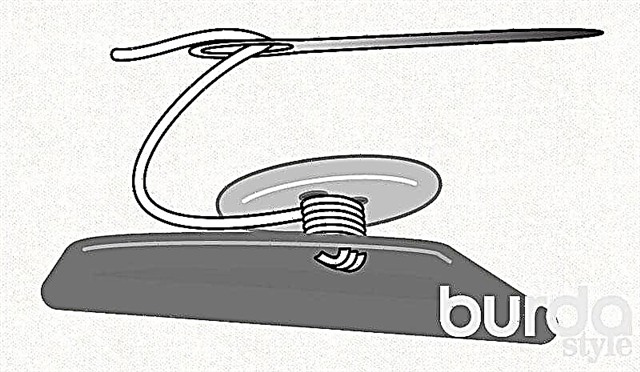
Very often, small flat buttons are duplicated by large buttons sewn to the side from the side of the pick: firstly, this makes the inside look neater, and secondly, the sides are further strengthened. If the large “front” button is flat, then for it, too, it is necessary to make a thread leg.
Buttons are undoubtedly part of the decor of the dress. But recently, many have been using them to decorate the interior. And these are not only children's crafts.

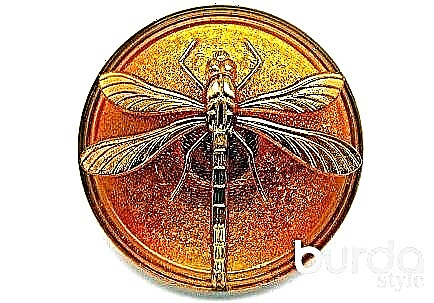
Buttons can become part of, for example, a landscape made with oil on canvas.

Or the basis for the color wheel ...

funny thumbnails, etc.
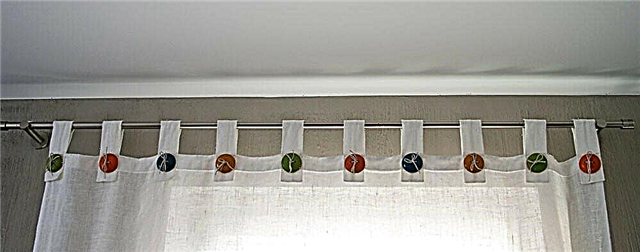
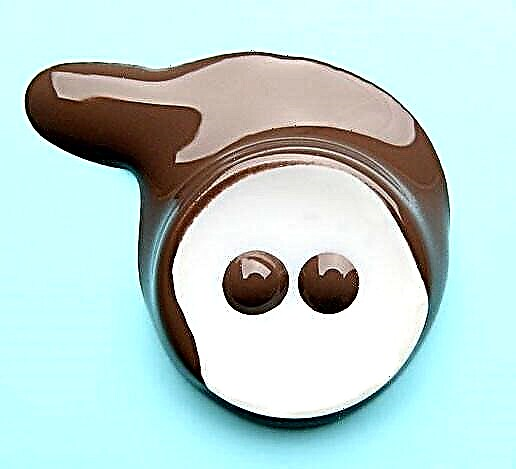
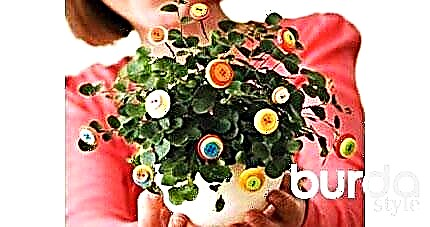
Buttons are pasted on flower pots ...

... make them colorful stickers.

By the way, making a sticker from a button - and even a bouquet - is super easy.
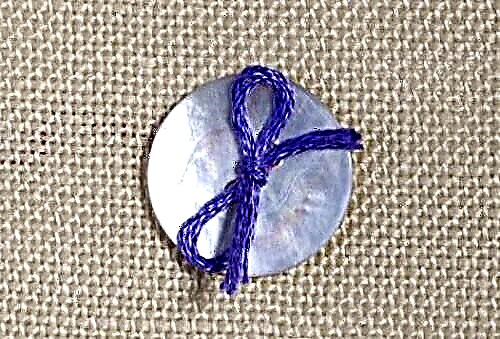
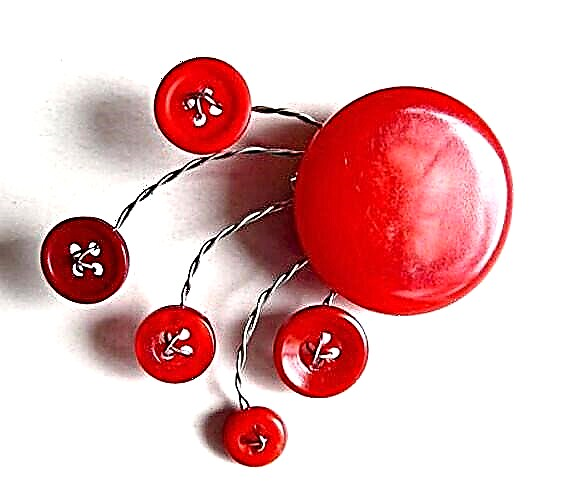
Take a flexible wire (preferably floristic), thread one end of a piece of wire into one button hole (or a row of buttons - from a larger button
diameter to a smaller one), then pull the wire to the middle and thread it in the opposite direction through the second hole in the button. Now connect both ends of the wire and twist them. The sticker is ready.

Using the same principle, jewelry with buttons is created.
And also with glue.

As a rule, buttons are glued to a felt patch as a basis, for a brooch a hair clip is glued to it.

Fashionable large necklaces are also made with glue and felt.
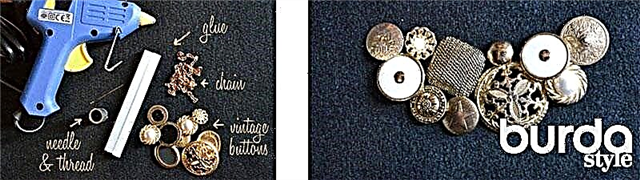
To do this, first lay the buttons on a fabric backing (always with non-shedding sections!), Make sure that they form a beautiful composition.

Then circle the button composition, cut the fabric along this contour, sew a chain or tie from the inside. And glue the buttons as intended.
A necklace, by the way, can be obtained, and just beautifully stitching the buttons (photo below).

Buttons are often wrapped in fabric with either a color matching fabric or fabric. And you can previously embroider tiny motifs on the fabric.
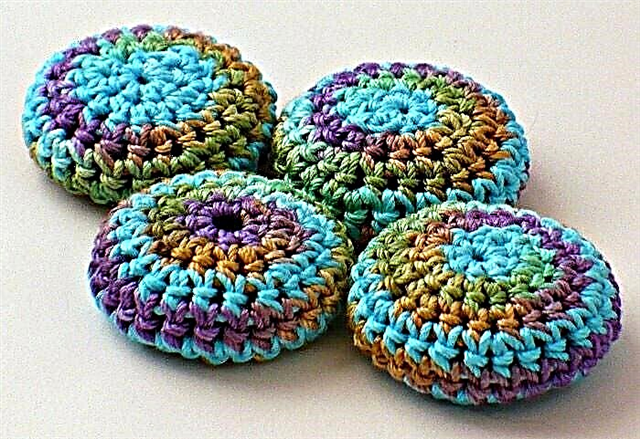
Buttons crochet and even knit

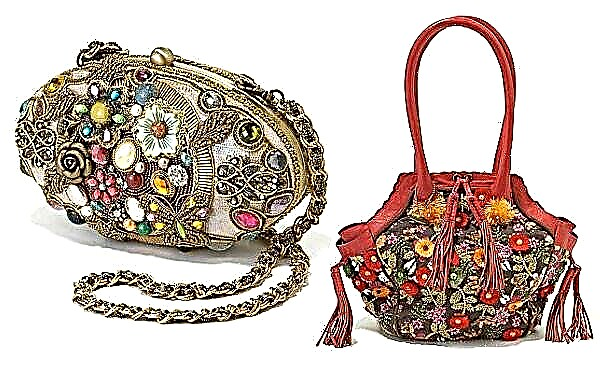
At the same time with the jewelry, the buttons “mastered” the accessories. For example, hats, hair bands, bags or shoes.

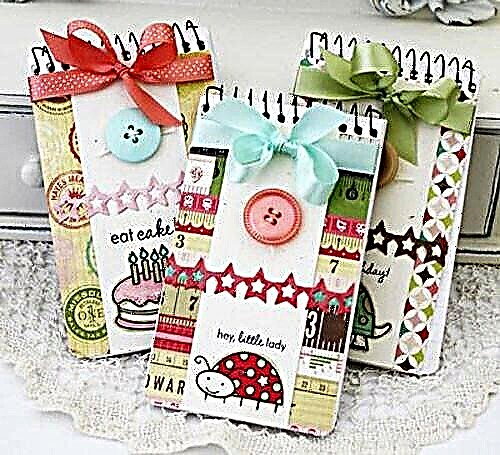
And of course, buttons are welcome guests in handicrafts such as scrapbooking or floristry.
How to replace a button on jeans
Sometimes it is not so easy to do! For example, a button came off on your jeans with a piece of fabric to which it was sewn or on which it was pierced. Do not rush to be upset - if you still have a torn button, fine, and if the button is lost, then carefully examine the loop. Usually, piercing or sewing metal buttons on a floating leg are installed on jeans. Therefore, in any case, you will need a button on the leg of a diameter corresponding to the length of the loop. Be sure to measure the height of the leg: insert a ruler with millimeter divisions inside the loop and calculate how much the leg should raise the button above the fabric.Better if the leg is slightly above this value.
If your button comes off together with a piece of fabric, then you have to put a patch: cut 2 small pieces of dense fabric, suitable in color, put one on the hole, the second under it. Sew on the machine with a tight narrow zigzag in different directions, including the fabric of the trousers.

There is a special press with nozzles for punching buttons, but few buy it for working at home. Indeed, it is easier to use a hammer and an awl, and in principle get the same result. Before making a hole, the fabric must be reinforced with non-woven fabric from the wrong side. Choose a work surface on which you will punch a hole - it should be sufficiently rigid and strong, best of all metal. Pierce an awl into the fabric and insert the button leg into it. Turn the button upside down and hammer it on the leg.
A bit of history
Do you know what came first - a brooch or a button? It turns out a brooch, or a hairpin. According to one of the ancient Greek legends, Athenian women somehow in anger stabbed a messenger who brought them the news of the death of their husbands in battle.
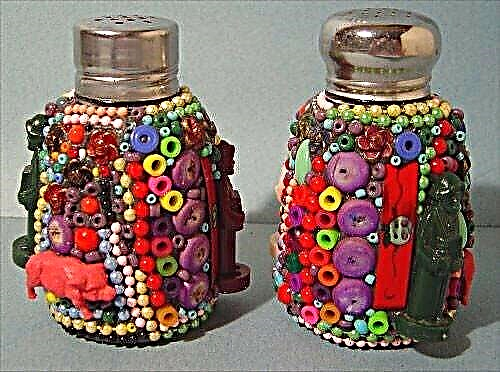
Buttons often served as amulets. The Slavs were scared away by buttons of red color, and the name “button” is still associated with the word “scare”. The button in the shape of an egg is today considered a symbol of fertility. Before Peter the Great, the number and shape of buttons on clothes testified to the social status of their owner. But uniform buttons and say about the same today ...

Buttons as jewelry appeared in Europe in the era of the knights, and it was men who brought them into fashion, decorating the sleeves from top to bottom with gold buttons with precious stones (of course, the price of the buttons was much higher than the price of the clothes themselves). Women preferred to use the old fashioned pins. Soon, however, the beautiful half of humanity also joined the fashion race, often picking fabrics for buttons, and not vice versa.
Hand-made design and painstaking work, various manufacturing techniques, decor painting, valuable materials (and this is not only metals and stones, but also mother-of-pearl, or bone) - all this led to the emergence of phylobutonics - collecting buttons.
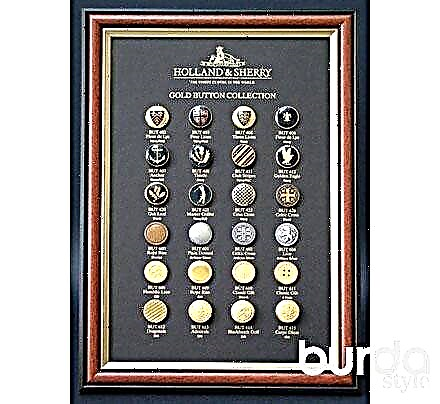
True, this passion requires a fairly large investment ... It is much easier and more enjoyable to collect different ways of using buttons in needlework ...
Photo: burdastyle, PR, imaxtree / de, street style.
The material was prepared by Elena Karpova.
Share
Pin
Tweet
Send
Share
Send